What is ODAG? How do you implement it? Can I borrow your script? Of course you can!
As any analyst or developer will know, there are some techniques you learn for a particular project and then never use again for ages. When the requirement does come around again you rack your brain and scour your old notes; sometimes you have to learn it all over again. Often, you wish you’d kept a copy of that old app you built and pray that you’d commented your scripts well. This was the situation for me recently when I had to dip my toes back into On-Demand App Generation in Qlik Sense. This time I’m writing it up, publicly, so I’ve got a reference. Hopefully it will be of use to you too.
Background
ODAG is just one possible solution for tackling big data (see also Direct Discovery and Big Data Index). A Qlik app containing many millions of rows of data can have a big performance impact and whilst this can be addressed, to some extent, by throwing more power behind the Qlik server, it might be more prudent and cost effective to have users interact with a subset data. This will not solve every big data puzzle however, in cases where users are only ever interested in a particular tranche of data it makes sense for them to be able to generate an application that only contains the data they’re interested in. The newly generated app will be slimmer, quicker and carry less of a RAM footprint.
Essentially, ODAG is the process by which users make selections to trim the data and a WERE clause is built on the fly. That WHERE clause is used to reload the data into a new, smaller app.
ODAG requires you to build 2 apps
- A Selections app: This contains all the fields that users may want to make selections on in order to filter down the data. In the front end (the UI) should contain filter panes for these fields and an indication of how much data will be passed to the Template app – you can set a maximum number of rows. The Selections app is instructed which Template app to pass the selections to.
- A Template app: This contains a script which references the fields in the Selections app. The front end should be designed to analyse the subset of data, just as you would design any normal app.
The final ODAG app that is generated using the template can be saved to a user’s work stream or to a chosen, published stream.
Building the Selections App
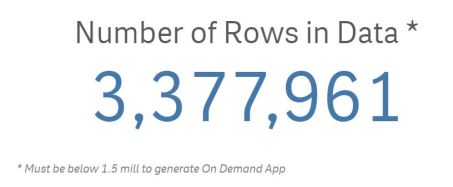
The script for your Selections app needs to load enough data to allow users to make selections in key fields and understand how much data will be passed to the Template app. Think of it as a shopping cart for data. For this to work you could just load all the data for each field, add some filter panes and run some Count() expressions as KPI objects (see picture above) to check the number of rows. However, you could slim the app down massively by grouping and counting values in the script. That way you load less rows of data but still maintain a view of how many rows they equate to in the source data.
-
Option 1: load all values within each field as well as a primary key field and a row count field (simply create a new field with a 1 as the value in the same table as the primary key).
-
Option 2: condense the app by grouping the data and counting the number of rows in each group.
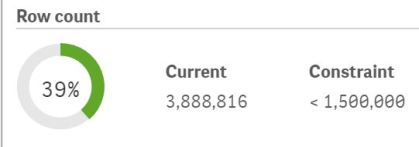
Once your script is in place and you’ve loaded the data you can move onto the front end of the app. Here, all you need are your selection panes to allow users to filter the data down and a KPI or Gauge object that indicates how many rows of data will be loaded by the template app. Gauge’s are particularly useful here because you can show the number of rows against a target (the maximum number of rows allowed before ODAG can be triggered – more on that later).
NB: Although I’ve said you should set a maximum number of rows you could set your condition to a maximum number of selections e.g. only allow ODAG when 1-5 customers have been selected… getselectedcount(CustomerName)>0 and getselectedcount(CustomerName)<=5.
Building the Template App
For the script, start by writing the script you would normally use to load all the data and build a model. We’ll add an ODAG script to generate a WHERE clause on the fly and then call that WHERE clause using a variable against each table we want to load a subset of
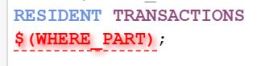
data from. Note that when you add the WHERE variable Qlik will probably show an error. Ignore it.
Add a new script page/sheet and move it so that it sits after your main sheet (the one with your format variables, section access, etc). In here add the following script ODAG Script (download)
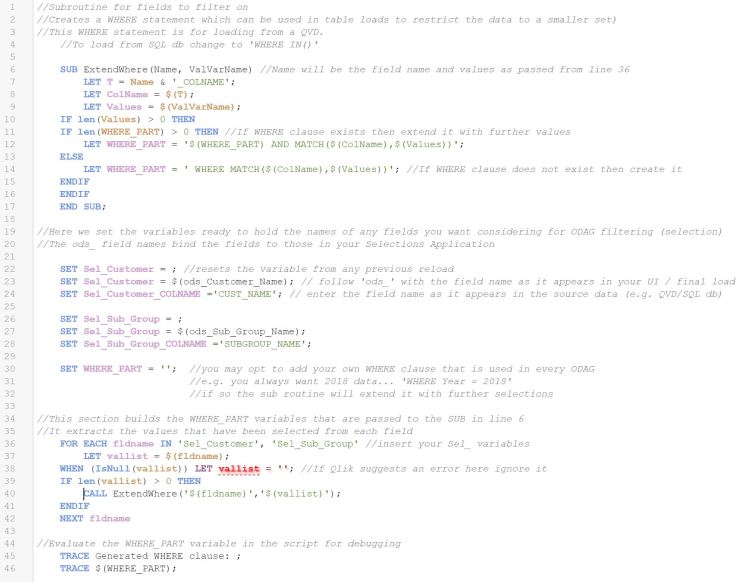
If you want to load from a source database rather than a QVD change the WHERE clause to a SQL syntax WHERE IN() rather than a WHERE MATCH()
If you need to handle dates then you will need to write a separate bit of script because dollar expansion on a date variable can lead to incorrect interpretation. E.g. 01/01/2018 could be interpreted as 1 divided by 1 divided by 2018 unless the dollar expansion is wrapped in single apostrophes.
Binding the 2 apps
Open the Selections app front end and, in edit mode, find the App Navigation Links button on the left-hand menu.
- Create a new one and give it a name.
- Select the template app to bind to
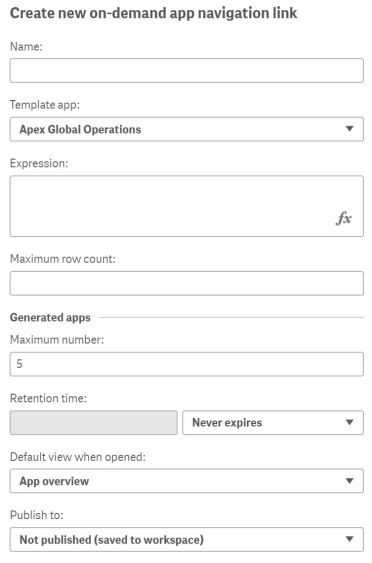
- Provide an expression that gives the count of rows
- Provide a max row count that can be passed to the template app
- State how many on-demand apps can be generated at any one time
- State the retention time for generated apps
- Set the default landing view for when a generated app is opened
- If the generated app is to be published then choose a stream
Drag the newly created navigation link to the bottom of the app.
Test ODAG
Make some selections that take you below the maximum row threshold. At the bottom of the app there is an ODAG button which also has a gauge showing you how far away you are from the threshold.  Hit the ODAG button at the bottom of the sheet and generate a new app. You can view the script as it loads and check for errors.
With any luck you should have now generated a new app. If it failed, you can use the ODAG button to check the script that the Template app ran. You can rename the newly generated app from here too.

Great Post !
I’d suggest adding the following options [ods, odo,odso] to the post (because I’v been strugling with selections on fields outside the fact tables before finally reading the faq 🙂 ) :
Pattern Expansion
$(ods_REGION_CODE) Selected (green) values of REGION_CODE
$(odo_REGION_CODE) Optional (white) values of REGION_CODE
$(odso_REGION_CODE) Selected or optional values of REGION_CODE
$(od_REGION_CODE) Same as $(ods_REGION_CODE), only selected (green) values of REGION_CODE
LikeLike
That’s a good point. I’ll have to check that out.
LikeLike
I am in love with your blog!! Thanks for the post.
LikeLike